X2Go
(Redirected from X2go)
Jump to navigation
Jump to search
| This site replaces the former Compute Canada documentation site, and is now being managed by the Digital Research Alliance of Canada. Ce site remplace l'ancien site de documentation de Calcul Canada et est maintenant géré par l'Alliance de recherche numérique du Canada. |
This article is a draft
This is not a complete article: This is a draft, a work in progress that is intended to be published into an article, which may or may not be ready for inclusion in the main wiki. It should not necessarily be considered factual or authoritative.
X2Go is a remote desktop solution which allows users to open a graphical user interface on a remote server. It is currently supported on Cedar.
Installing X2Go Client
X2Go requires a client to be installed on your machine. MS Windows, MacOS X, and Linux clients exist. To install X2Go, follow the instructions on this page.
Using X2Go
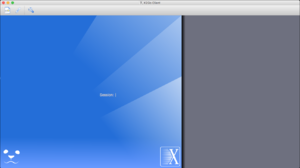
- Once you open X2Go client, you will be presented with a screen looking like the "X2Go main screen" on the right of this page.
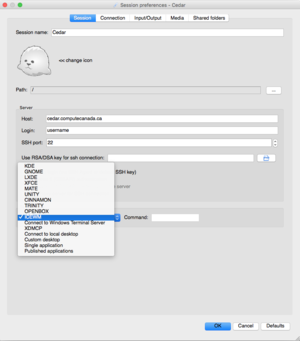
- Click on the icon that represents a file with a little star. This will prompt the screen "X2Go new session"
- Fill in the required information as displayed on the image. Make sure that you select the "ICEWM" desktop from the "Session drop-down menu, as this is the only desktop supported on Cedar.
- It is a good practice to disable "Sound support" and "Client-side printing support" on the "Media" tab. These are less useful for HPC machines.
- It is possible to use SSH key-based authentication if you have it enabled, by providing your key ("Use RSA/DSA key for ssh connection" dialog). However, on Cedar default authentication is password-based.
- Once the session is created, click on it (it will appear int he main window, enter your username and password, and wait. It may take a few minutes until the desktop appears, but once it appeared, it should be reasonably fast.

